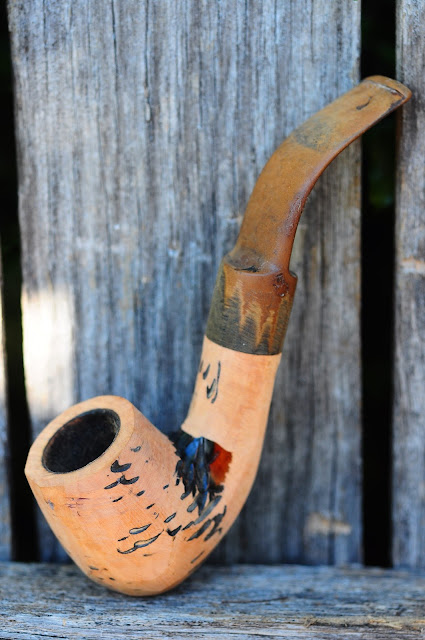
This one was nasty dirty and painted with both black paint and shellac. In the first photo it looks okish, but trust me it was nasty So, I figured that it's briar and that it's not worth anything, so why not give it a re-carve and see what happens?
Well, lessons learnt today:
1. Briar is hard, even sharp tools slide off it.
2. Sanding disks in a hobo drill setup take off a lot of material - FAST
3. My god briar is hard. I learnt this several times and in several different ways so it gets another mention.
4. Symmetry is very hard to achieve when you are trying to work around existing things such as rustication. I had to take off a lot of material and as a result left a few places very thin (bottom of the shank for one).
5. Re-facing a stummel is a pain without some sort of guide to align the cut 90 degrees to the mortise.
 |
| The original pipe. |
 |
| Hobo pipe sanding and shaping disc. |
 |
| Step 1: Remove most of the rustication. 80 grit sanding pad...WOW briar eater! |
 |
| Hobo pipe clamp. Old rake handle...meet pipe. |
 |
| I had to remove a lot of material to get through all of the rustication. A cup of tea and redesign was required! |
 |
| After much sanding I stopped here for the night, sun had gone down. May have to wait all week before I can work on it again...big week at work. I'm happy with the general shape and the symmetry is getting there. The stem/shank interface is terrible and the rim is close to even but not close enough. The shank is square with rounded corners. Note also the bit has gone from a double saddle to a single saddle. If I manage not to kill the pipe (have come close a few times) this one will head to Hobo Dave for extensive 'testing'. |


