Post 2: http://hobopipes.blogspot.com.au/2013/03/restoration-f-reject-update.html
------------------------------------------------------------------------------------
Well, it's finished. Due to formatting issues I'll lay out all of the details here and then just post photo's below.
1. Rough sanding begins. Edges are smoothed and the final shape is taking form. I kind of like the hole, it seems natural.
2. I had nothing to deepen the bowl and remove the horrible cake down there. I decided I needed a spoon drill, but being hobo I decided to make one from a teaspoon. Worked a treat, bowl deepened and reamed. I also drilled the draught hole out to 4mm at this point. It must have been at 3mm before as I cut new wood in the process, good, the old wood in there was gross.
3. Sanded with 180 grit and test fitting the stem. At this point the shank was bigger than the stem and I had rounded the end of the shank during sanding. Live and learn.
4. I wanted to heat the tenon on the bit so that a I could compress it length ways to tighten it's fit in the shank. In the old factories they used a sand bath heated by wood, and later gas, stoves. I didn't want to do this inside the house in case something exploded (bad history with exploding rocks) so I made a hobo camp stove from a coke can. You pour alcohol (in my case kerosene) in the central bowl and light it. This heats the can and the alcohol in the space between the inside and outside of the can starts to vaporize. It then comes out of the little holes and looks just like a gas stove-top. Works well, it heated the sand easily.
5. Here is the bit in the sand. I put a pipe cleaner in there to keep sand out and also to ensure the draught hole stayed open. The whole thing is on a windshield I made as I was unsure about putting that much weight directly on the can stove. While I was there I decided to bend the button end of the bit as well so that it matched the curve of the forward heel of the bowl and also the curved rim and head. By this time the sand was cracking hot and the bit only required about 30 seconds in the sand to turn to floppy rubber (kind of scary the first time you pull it out).
6. Next I sanded the shank with the bit attached to match their diameters. This went pretty well. I managed to square the end of the shank and to get a pretty good fit. It's not perfect, but it's a darn site better than many factory pipes I have. At this point I decided to do a quick test buff (rough wheel only) to bring out scratches, to make sure I was happy with how the final design would look and also to provide myself with a darker layer to sand off so that I knew where I had done the second sanding.
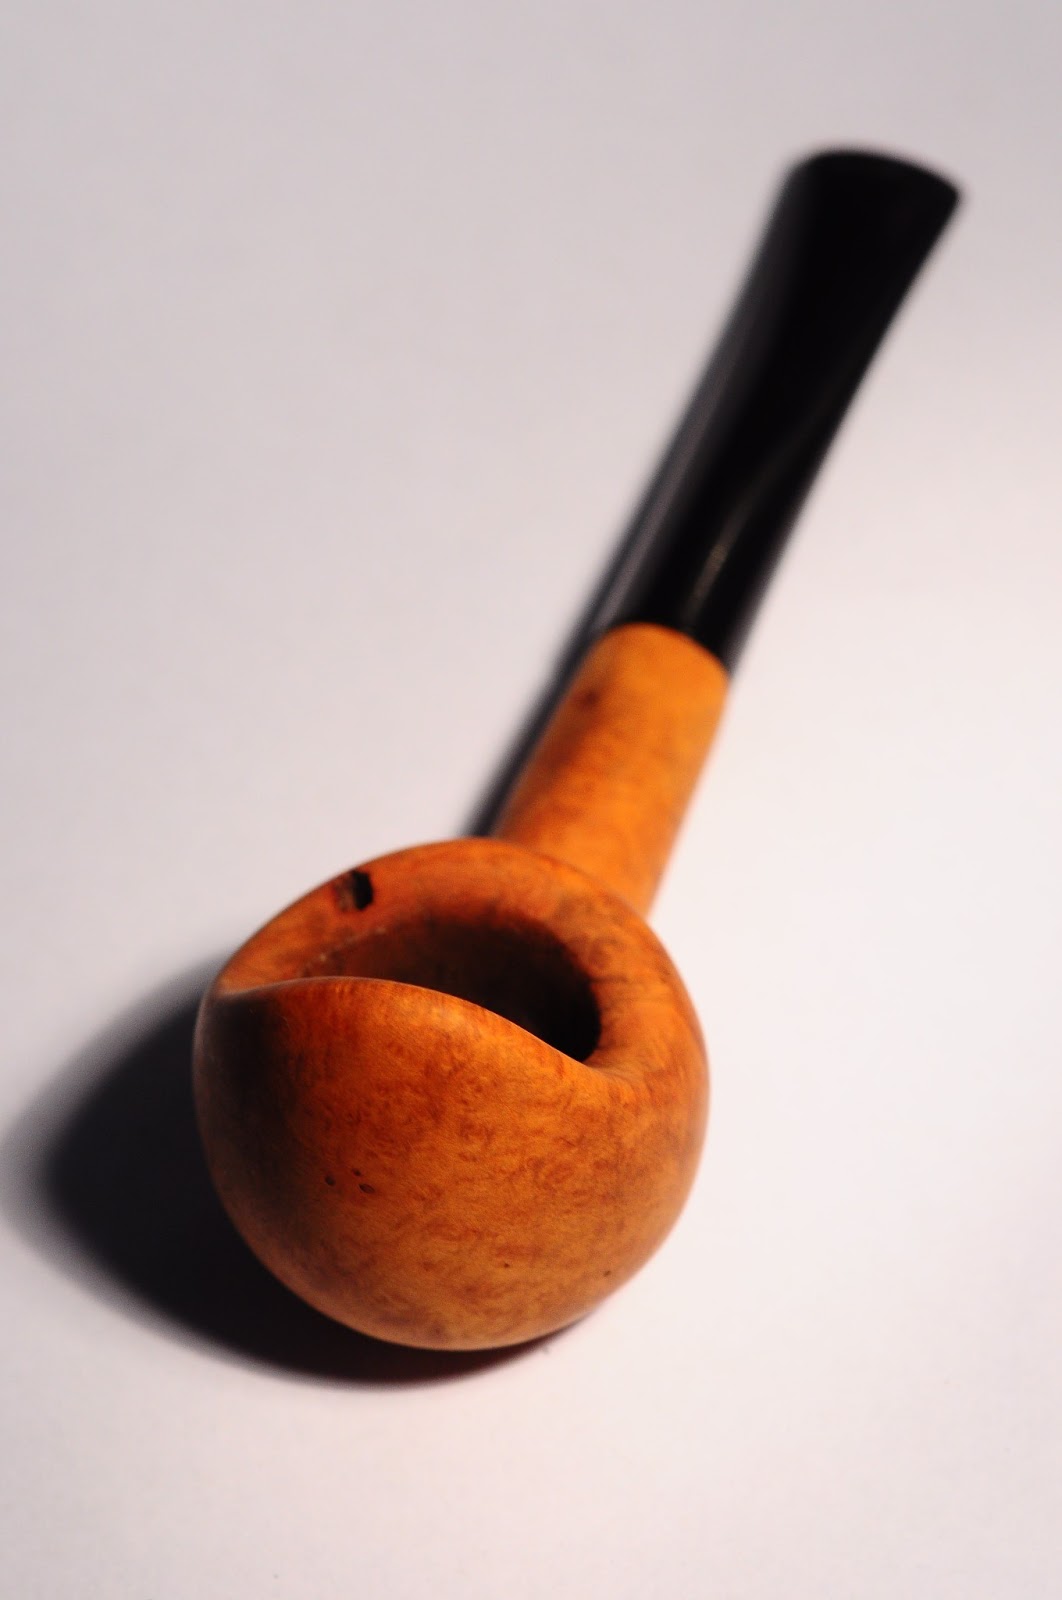
7. If I wasn't going to try out the sap idea I would have just left the hole there, I really did like the look of it. This little pipe was grown by the Mediterranean, hauled by donkey to the sea, shipped to England and made in to a pipe, somehow made it's way to Germany where it was smoked ruthlessly and passed in to the hands of a second hand dealer and then shipped to Australia. Quite the journey. That hole is part of the briar's history, it's natural and it is part of the pipe. Sad to see it filled, but at least it is with something natural!
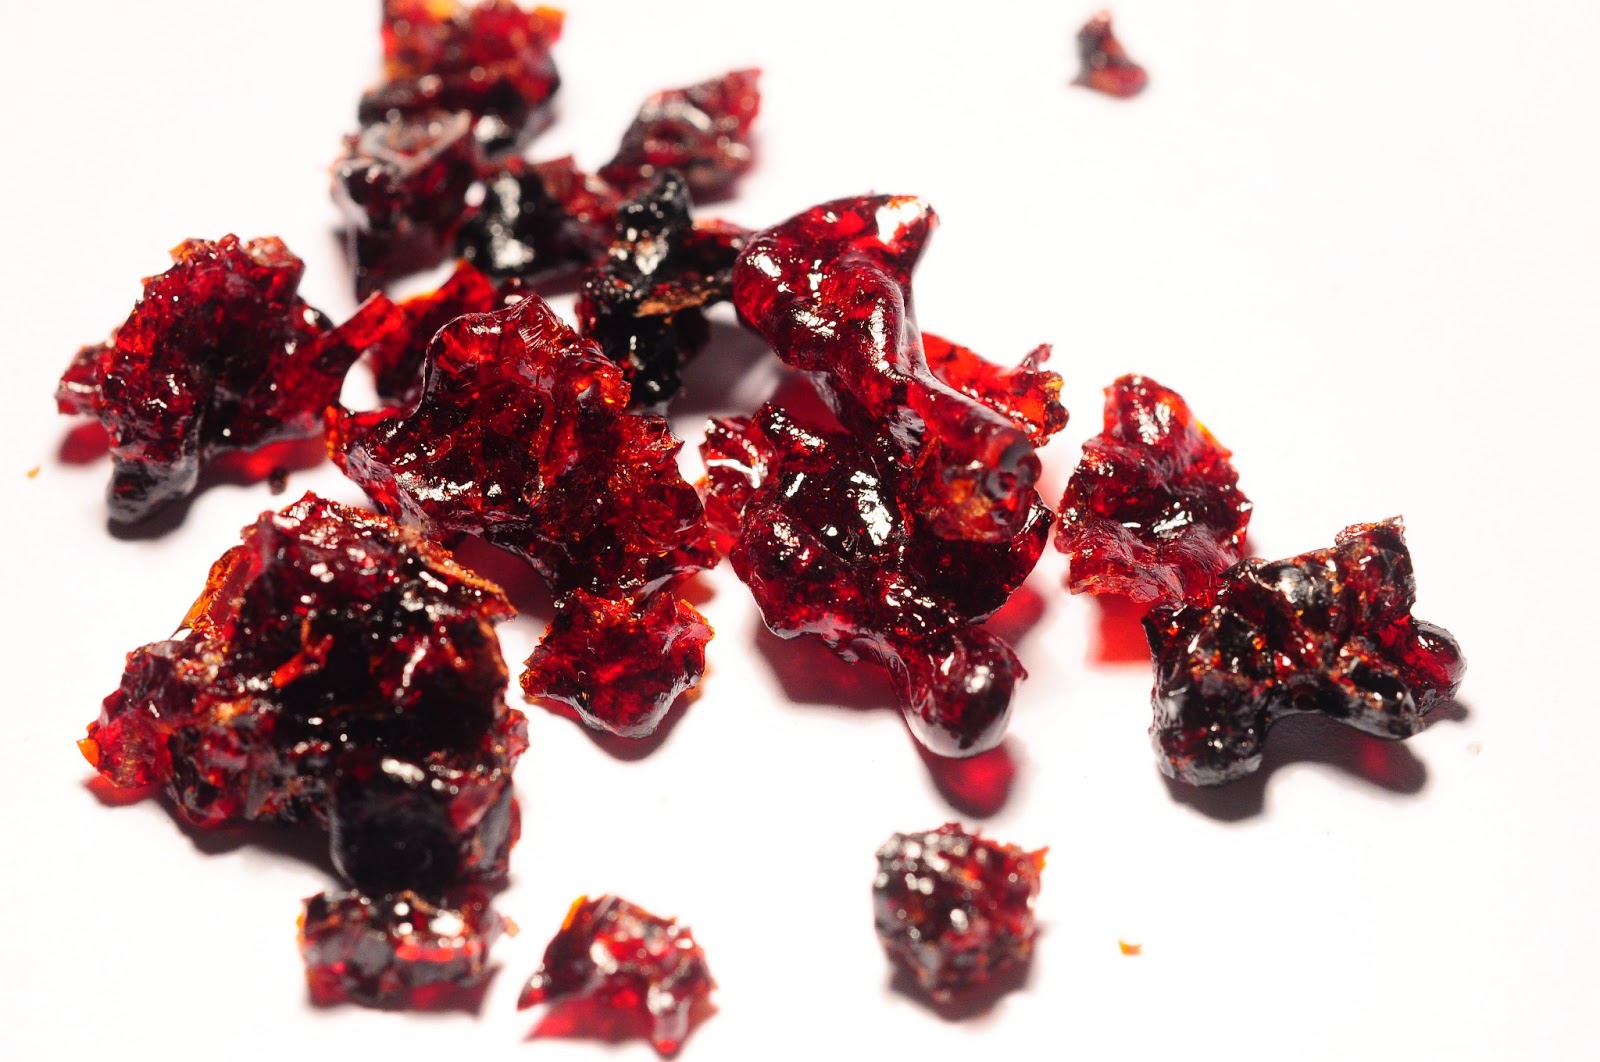
8. Went for a walk with my wife and the dog. Collected this sap from an ironbark along the way. It was hard and crystalline. I couldn't find any fresh sap. So, I broke these bits off and put them in a pan on the stove. I wanted to see how the crystalline sap would react to heat (would it melt). Apparently heat does nothing to it, I gradually got to full stove-top heat and nothing. I decided to add a little water to see what would happen. WHOOSH. Holy cow, instant sap soup. I boiled it down and took some of the reduced sap from around the edges. It filled the hole pretty easily.
9. I then did the final sanding and buffed with all three wheels. No carnauba still, so will have to do a final polish later. But for now the pipe is complete. I'm pretty happy with the result. More than anything I learnt a lot and am keener than ever to start carving my own pipes from scratch.